top c/o chicwish, skirt-gianni bini, shoes-sam edelman
Showing posts with label fashion. Show all posts
Friday, July 12, 2013
Wednesday, July 10, 2013
Friday, March 30, 2012
Friday, March 16, 2012
Friday, February 24, 2012
Sunday, February 5, 2012
Sunday, January 29, 2012
today's outfit: black and pale
top-forever21, pants-forever21, loafers-steve madden
This is what I wore to work today. I ended up throwing on a blazer because of the cold weather. I've discovered that I really need to invest in some new accessories. Most of the ones I have now no longer suit me. Anyway, I still have some new goodies to show! Maybe I'll save them for a post tomorrow!
Tuesday, October 18, 2011
DIY-Spiked iPhone Cover
What You'll Need:
Lay out spikes to get an idea of how you'd like them spaced out, then mark each spot with a sharpie. Using a pointy object of your choice, begin puncturing holes in the cover for the spikes. I recommend doing one row at a time, then adding in the spikes and making sure the placement is correct before beginning the next row. *Tip: Don't place spikes too close to the camera hole, otherwise the spike will obstruct the camera's view.
This is what you will end up with. Notice that with this type of cover, tears are already present around the spike placement. That is why I recommend a more sturdy material for the cover.
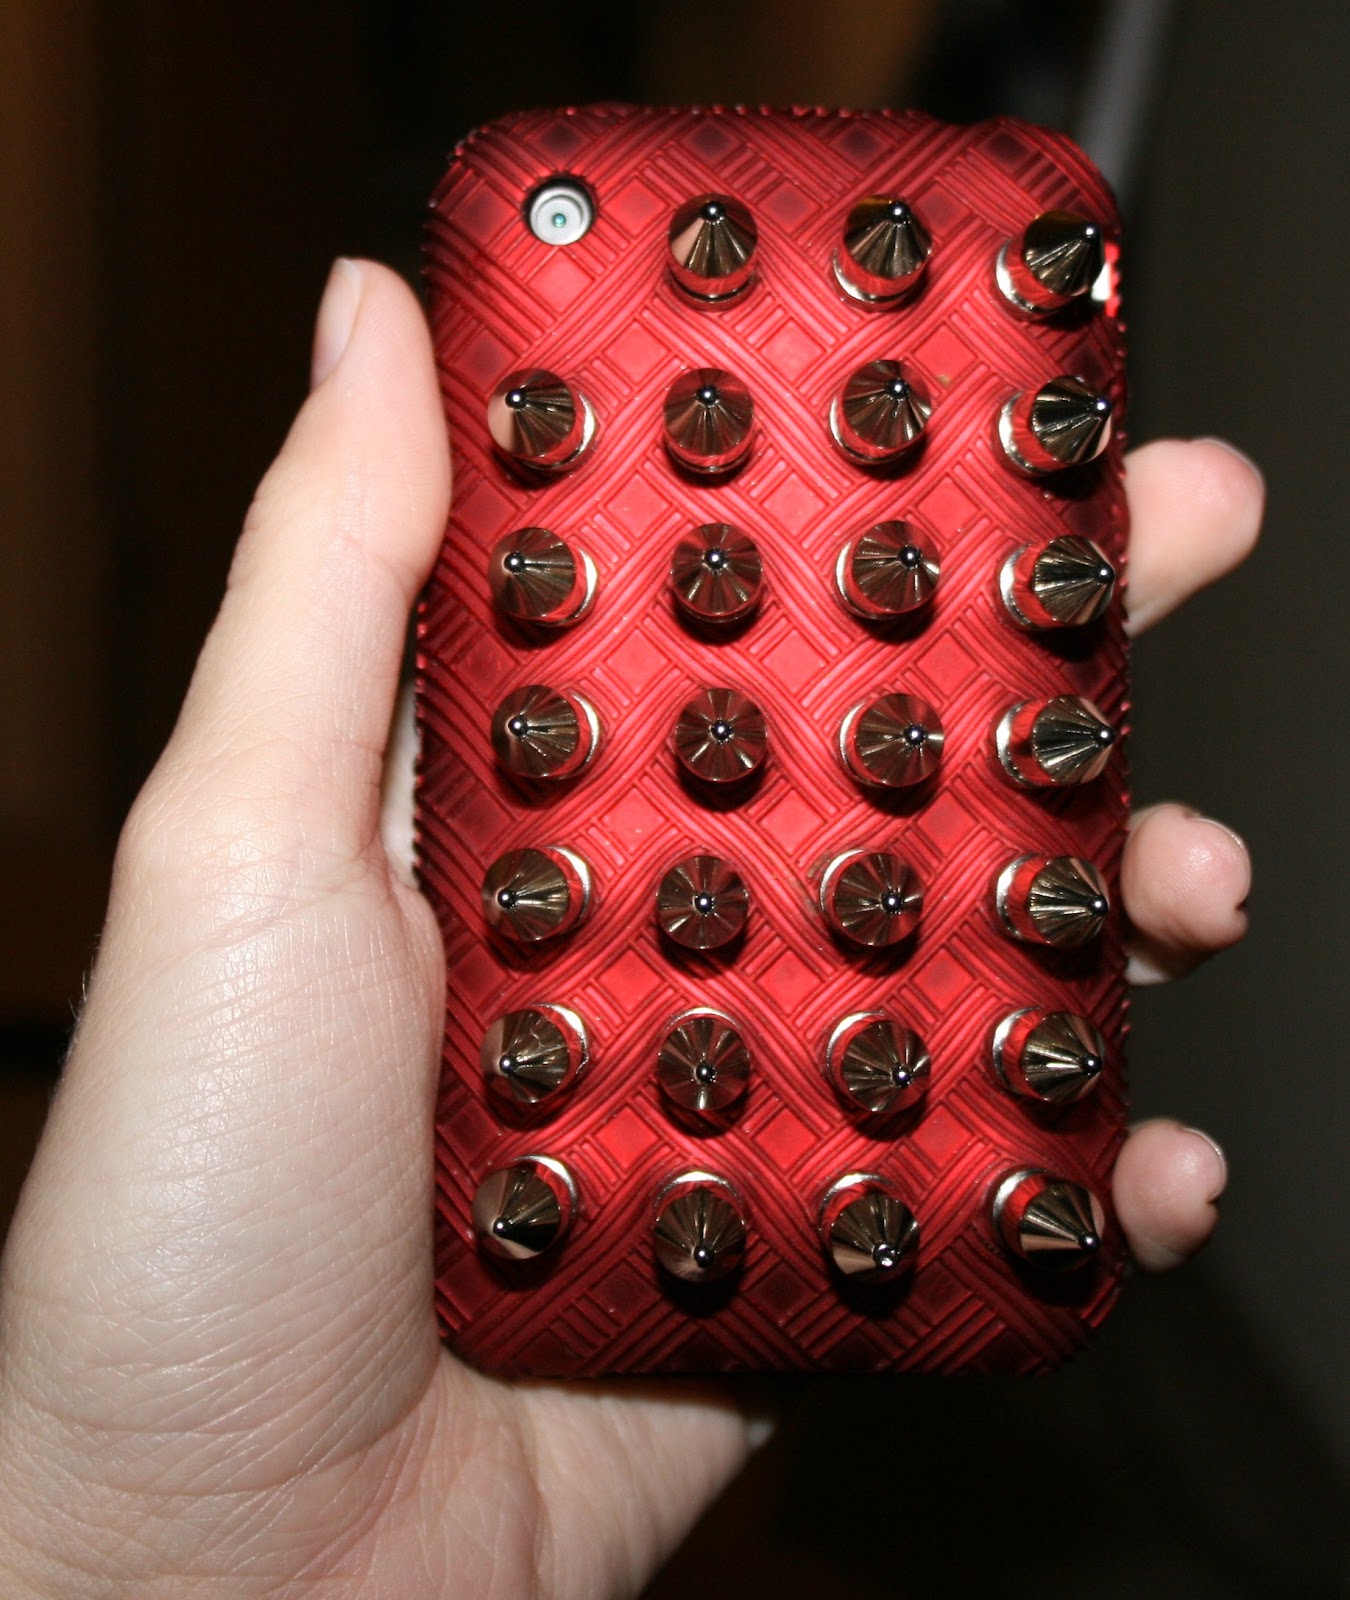
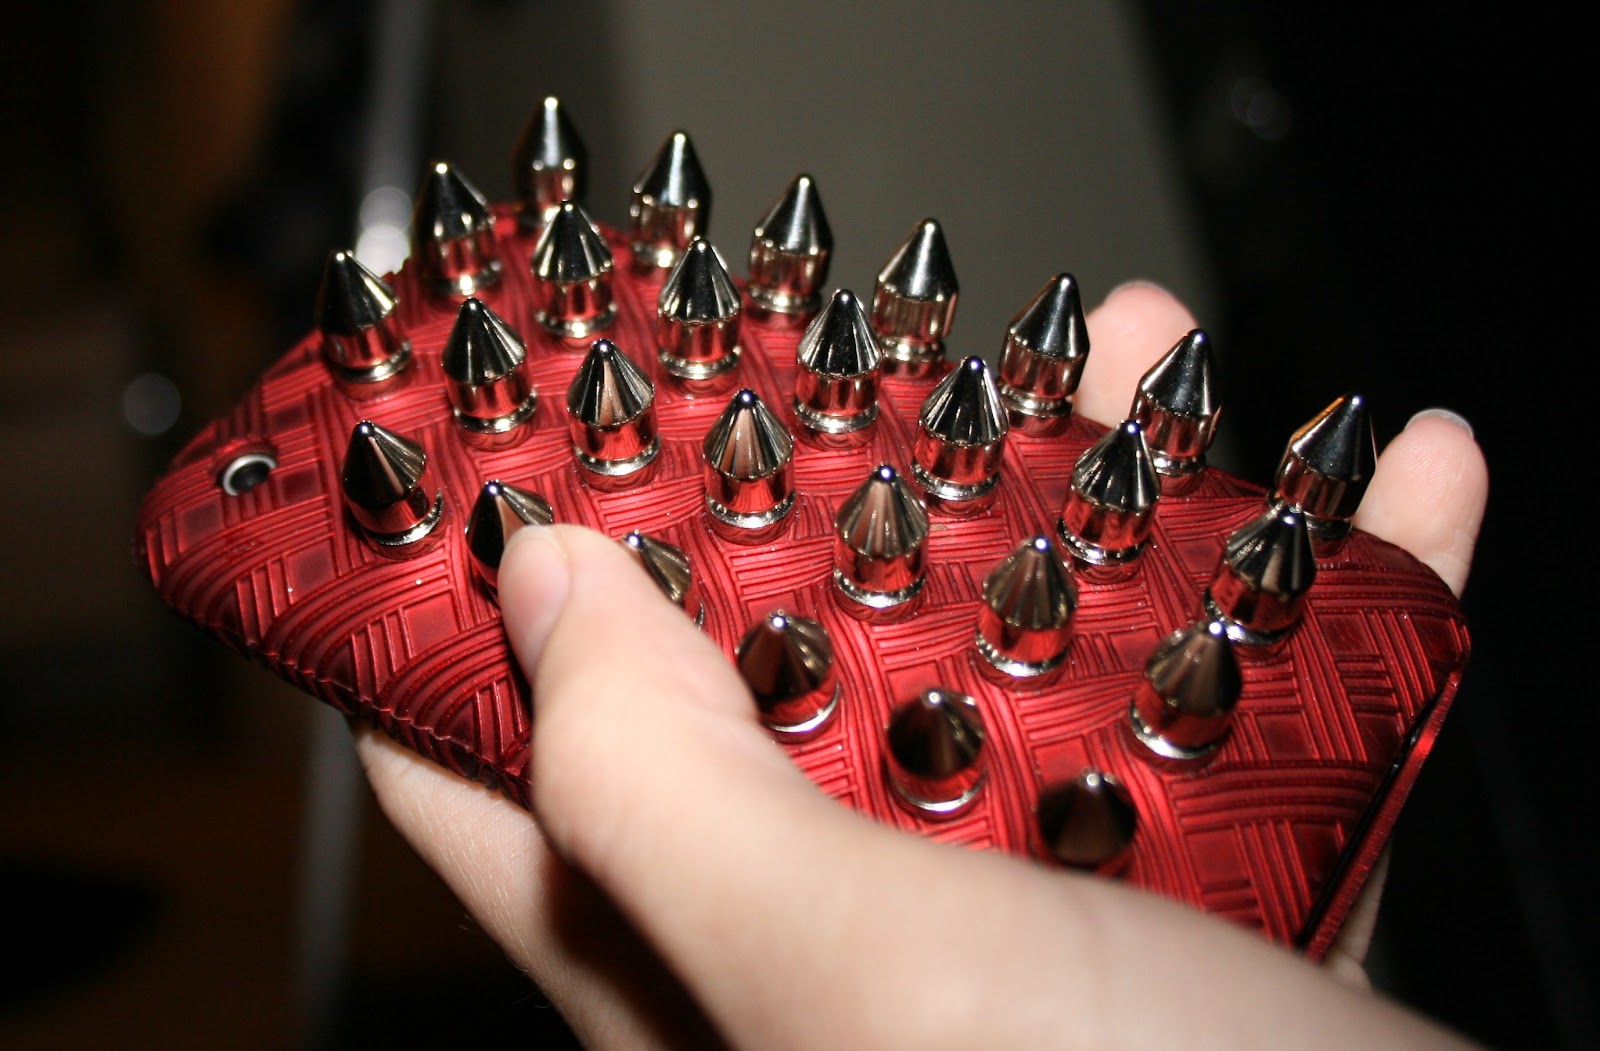
And here it is on my phone! While I worked on this one, my boyfriend decided to begin one using my old phone cover, that is made out of more of a plastic material, yet still has some flexibility. After my disappointment of the first one, I finished this second one and couldn't be more pleased!
The cover already had the perfect grid to follow for placing the spikes, and since it was a more sturdy material, they didn't point in all crazy directions like the first one. Unlike the first one, I would definitely feel comfortable carrying this every day without fear of harming it. Love!
- 5/8" Tree spikes (25-40 depending on how close together you want them)
- iPhone Cover (I recommend something slightly more sturdy than a silicon skin, yet still puncturable)
- Sharp pointy object for making holes (I used a sharp, 1mm screw)
- Sharpie or pen
Lay out spikes to get an idea of how you'd like them spaced out, then mark each spot with a sharpie. Using a pointy object of your choice, begin puncturing holes in the cover for the spikes. I recommend doing one row at a time, then adding in the spikes and making sure the placement is correct before beginning the next row. *Tip: Don't place spikes too close to the camera hole, otherwise the spike will obstruct the camera's view.
This is what you will end up with. Notice that with this type of cover, tears are already present around the spike placement. That is why I recommend a more sturdy material for the cover.
And here it is on my phone! While I worked on this one, my boyfriend decided to begin one using my old phone cover, that is made out of more of a plastic material, yet still has some flexibility. After my disappointment of the first one, I finished this second one and couldn't be more pleased!
The cover already had the perfect grid to follow for placing the spikes, and since it was a more sturdy material, they didn't point in all crazy directions like the first one. Unlike the first one, I would definitely feel comfortable carrying this every day without fear of harming it. Love!
Friday, October 14, 2011
Fall Exploration
| Isn't this gorgeous? The light and colors. |
| I was falling off the log, and apparently my arms decided to fall off too haha |
| We had an audience! |
| My beau, Ken (on the right) and Lando being boys |
Monday, October 10, 2011
INSPIRATION
New obsession...short suits! I guess I'm a little late on this seeing as how its now Fall, but then again I can just imagine an adorable little tweed suit with sheer tights and ankle boots.
Thursday, September 29, 2011
ART
I'm an art freak. Unfortunately I've been to busy lately to actually do much, but here are a few recent works.
The painting isn't finished yet, as there are many touch ups and details left. The other two are just sketches that I would do out of a magazine and such between classes.
Subscribe to:
Posts (Atom)


lookbook